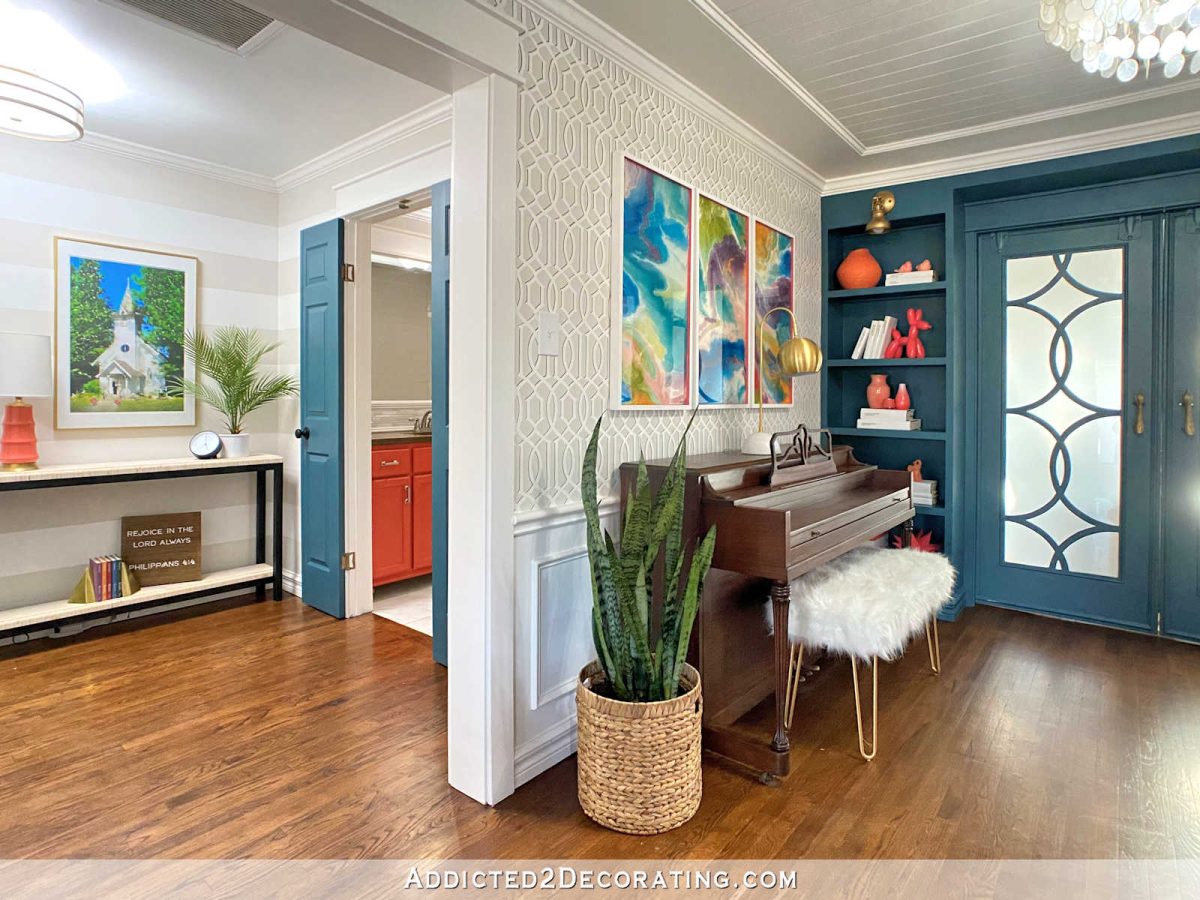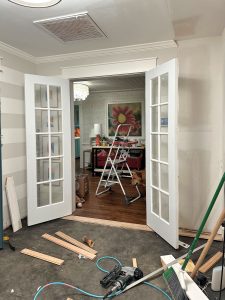
I decided that I need to go ahead and install the French doors to our bedroom suite since the floor is in the process of being torn up, and Felicity (our cat) has now been under the house at least three times. The bedroom where the floor is currently being torn out (the teal door on the left in the photo below) does have a pocket door on it…
But the soft close mechanism is broken on that door, so Felicity has learned that she can very easily open the door with a little brush of her paw across the door. So anytime I’m not looking, she sneaks in there and gets underneath the house. So in an effort to keep her out, and also to keep the mess and dust contained in the construction area, I wanted to go ahead and install the French doors.
I ordered two of these slab 10-lite doors from Home Depot.

The reason that I ordered slab doors instead of pre-hung French doors is because the doorway where I want to install these doors has already been trimmed out. I’m turning this cased opening between the music room and the hallway into the doorway to our new bedroom suite. Eventually, the doorway into the bathroom will be closed up, and the bathroom will be accessible on the opposite wall of the bathroom. But that’s for another time. For now, I just needed to get these French doors installed in this already trimmed out cased opening.

The cased opening is 46 inches wide, so I ordered two 24-inch-wide doors so that they would be side enough to cover the opening, but knowing that they’d have to be cut down just a bit. And because I wanted to do this the easiest way possible, I purchased non-mortise door hinges for the doors. I bought three hinges for each door. Non-mortise door hinges don’t require the use of a router or chisel to install the door. You just screw the hinges directly to the door jamb and to the edge of the door with no mess or fuss. It’s super easy! I did buy longer screws, though. Since my doors are kind of heavy (and not hollow core doors), I didn’t want to use those little screws provided with the hinges.

Starting at the top of the door jamb, I measured down 6.5 inches, and then screwed the hinge in place so that the top of the hinge was on the pencil mark.

Next, I measured up from the floor 7.5 inches and made a mark. I screwed the hinge on so that the bottom of the hinge was on the mark. And finally, I measured and marked the center point between those two hinges and screwed the third hinge onto the door jamb so that it was centered between the other two.

I repeated that process on the other door jamb.

Next, I used scrap lumber to shim the door up high enough so that there was about 1/8 inch between the top of the door and the top jamb.

This was a bit tricky doing all of this by myself — holding the door in place, lining up the edge of the door with the hinge, and screwing the hinge into place. But with some patience, I managed to get it screwed on. I started with the center hinge just because it was the easiest to do first. Had I started with the bottom, I would have needed another person to help me hold the door in place, and had I started with the top, I would have had to do all of that balancing act on a ladder, which would have been incredibly frustrating. So starting with the center hinge made more sense. I didn’t make any marks before screwing the door to the hinge. The marks you see there are just from the metal of the hinge scraping against the door as I tried to get the door in just the right place.

But once the middle hinge was attached, the rest was very easy. I did the top one next, and it was very easy to line up and get it screwed on.

And then the bottom one was also very easy. So it was really just the first one that was a bit challenging.

And here’s how that looked once all three were attached. You can see light around the door with this type of hinge, but that problem is solved once the stop is attached.

Before attaching the stop, I first had to install the second door. I installed this one a bit differently since I needed the doors to match exactly. Instead of starting the installation of the second door with the middle hinge, I instead measured the placement of the top hinge on the first door, and replicated that exact placement on the second door, predrilling the holes to make it as simple as possible once I stepped up on the ladder, and then worked my way down. Because I was working with pre-drilled holes, starting from the top and working down on the second door was actually quite easy.

I decided to install the doors before trimming the excess width. I’m only going to trim the excess width off of the inside edge on each door, so I’ll do that by removing the hinge pins to remove the doors, using my circular saw to trim the edge, and then rehanging the door by simply lining up the hinges and putting the pins back in.

I know that just trimming off the excess with from the inside edge on each door will make the stiles on each door different widths. And if the doorway only had one door on it, I’d never consider doing that. But since it’s two doors, and they’ll be perfect mirror images of each other to maintain that balance, I think it’ll be fine. Right? You’ll have to persuade me if you disagree. 😀
To finish up the door trim, I needed to install stop around the edges. I started with the top piece, which I cut with my miter saw and then attached using 1.5-inch 16-gauge nails.

And then I attached the side pieces of stop.

You can see how the stop covers over that small gap from the non-mortise hinges.

And then I attached the stop on the other side. And here’s what the doors looked like when I stopped for the evening.

Cutting the doors down will be the most nerve wracking part of the project. I’m not looking forward to that part, but I am looking forward to these doors being completely installed! Once they’re cut down and put back into place, I’ll need to install some ball catch closures on the top jamb so that the doors will actually stay closed. Hopefully I can get the rest done today and show you the finished French doors tomorrow!
Addicted 2 Decorating is where I share my DIY and decorating journey as I remodel and decorate the 1948 fixer upper that my husband, Matt, and I bought in 2013. Matt has M.S. and is unable to do physical work, so I do the majority of the work on the house by myself. You can learn more about me here.


